Showing posts with label Fistful of Lead. Show all posts

Friday, February 1, 2019

Christmas Savage Worlds Showdown Game

Bit of a belated Christmas game post here.  This game pits the followers of Krampus, the Christmas beastman/demon that enjoys popularity in Germany, against Santa Claus and his Elves, with some raiding Dwarves that are hoping to loot Santa's workshop.  Krampus is tired of playing second fiddle to the jolly old elf, and it's time to settle the score.  This was also an excellent opportunity to use our newly assembled gingerbread houses for terrain.

The Elves got victory points for keeping Santa out of Beastman hands and protecting their packages.  The Beastmen got points for getting Santa - more alive for public humiliation, dead is okay as well - and for killing both elves and dwarves.  The dwarves got more points for gathering presents, but some smaller amounts for enemy casualties.  I had the dwarves, my oldest boy had the elves, and the younger son the beastmen.

Rules (skip if you don't care about mechanics and just want to see the action):  In my test games with Fistful of Lead:  Galactic Heroes - Game 1 and Game 2 - the action devolved into a bloody mess, and the mostly identical stats for each mini contributed to this dynamic.

For our first Christmas-themed game, I wanted to do something different.  Building off of the existing setting for the Campaign for the Darkened Wood, my fantasy Savage Worlds Showdown setting, I decided to use the stats from Savage Worlds with the activation cards from Fistful of Lead:  Galactic Heroes.  This fixed what I perceived as a weak point for the FFoL rules, the amount of differentiation between minis. Dwarves are stout and good in melee, Elves are good with a bow but weak in melee, and the followers of Krampus (beastmen) are fast and tough to kill. I know there are ways to make the FFoL rules provide some of this crunch, but it’s already been done in Savage Worlds and I didn’t see a need to reinvent the wheel.

Here's the table - Dwarves at top left, Beastmen at bottom right, Santa's village in the middle. 
Tranquil morning in Santa's village.
The dwarves approach from the woods, hoping to get in and out with a minimum of conflict.
Krampus sounds the charge with his horn.  It's on!
The dwarves rush in toward the elves.

The elves have dropped one beastman with a well-placed arrow.  The elven swordmaster rushes forward to confront the beastmen. He leaves one beastman shaken, but there's a lot of mad fur around him.
A scrum breaks out between the dwarves and elves.
The elven swordmaster gets brutally killed by the beastmen.
The beastmen rush forward into the village square.  Santa's at top right, and needs to get moving.
The beastmen look ready to dish out some pain.
The elves fare poorly once in close combat with the dwarves.
The dwarves advance into the village square, rushing to get the presents.
Santa, foreground, takes to flight and depends on his elves to create time for him to escape.
Beastmen continue forward.
The beastmen rush forward over fallen elves.
Aerial view of the battle.
The elven chieftain confronts one of the beastmen, and gets a helping hand from one of the dwarves.
Another dwarf joins in to help take down the beastman.
A beastman, top left, falls to elven arrows.
Santa continues his run for the edge of the field.
The elven chief is shaken, but a Remove Shock card puts him back into the fight.
Lots of corpses littering the ground, chaos in the village.
Dwarves making off with wrapped presents.
The dwarves who were helping the elven chieftain abandoned him, and now Krampus wounds him and knocks him down.
The dwarven wizard blasted the elf above and to the right of him with a magic missile.  In retaliation, the elf at top center of the photo fired an arrow that dropped the dwarf wizard.  A second elf then followed up with another arrow, a coup de grace that ended Stumpy Gandalf's run of good luck.  Dastardly!
Enraged the dwarves seek vengeance for Stumpy Gandalf.  Freya rushes forward to exact revenge against an elf.
Freya lays her dwarf low as other elves are tied up with a beastman.
Erik the Berserker downs another elf.
Krampus ends the elven chieftain's life.
Erik, having finished his business in the village, departs before the beastmen run out of elves to kill and turn on him.
The village falls to Krampus and his warband.

Santa made it to the woodline, escaping to live another day.  The dwarves ran away with the game both on points and in loot from Santa's village.  If you received your Christmas presents, don't thank the dwarves.  They didn't get a chance to take yours before the beastmen ran them off.

Rules feedback:
1.  I may never play Savage Worlds Showdown by the written rules again.  As written, cards are drawn for each unit instead of dealt to a player who gets to choose which mini or unit gets activated by a particular card.  Dealing hands to each player and allowing them to activate minis in turn both allowed the sequencing of actions and let the special card properties play out.  It lets players make choices that make the game exciting, which is what it's all about.

2.  I like the crunch of the Savage Worlds stats.  The troop strengths and weaknesses and exploding dice made for an exciting game.

3.  We had a great time with our Christmas game.  Definitely a new family tradition.

Tuesday, January 29, 2019

Galactic Heroes - Test Play and Review Part 2

Following up my previous post where we playtested Fistful of Lead:  Galactic Heroes (GH), we closed out that experience with some imbalance between teams.  We decided to give three factions even odds, with a Psionic and war walker each, and several normal troopers to round out each team.

We returned to our grim, dark setting perhaps in the year 40,000 or so.  This time, the Emperor's elites, the high-tech Tor, and the savage Ornks were vying for a flex compactor, an essential component for the Doom Moon, a large battle station that could change the balance of power in the universe.

 Recommend clicking on the above.  The Tor are advancing from top left, Imperial elites at top right, Ornks about to show up at bottom.

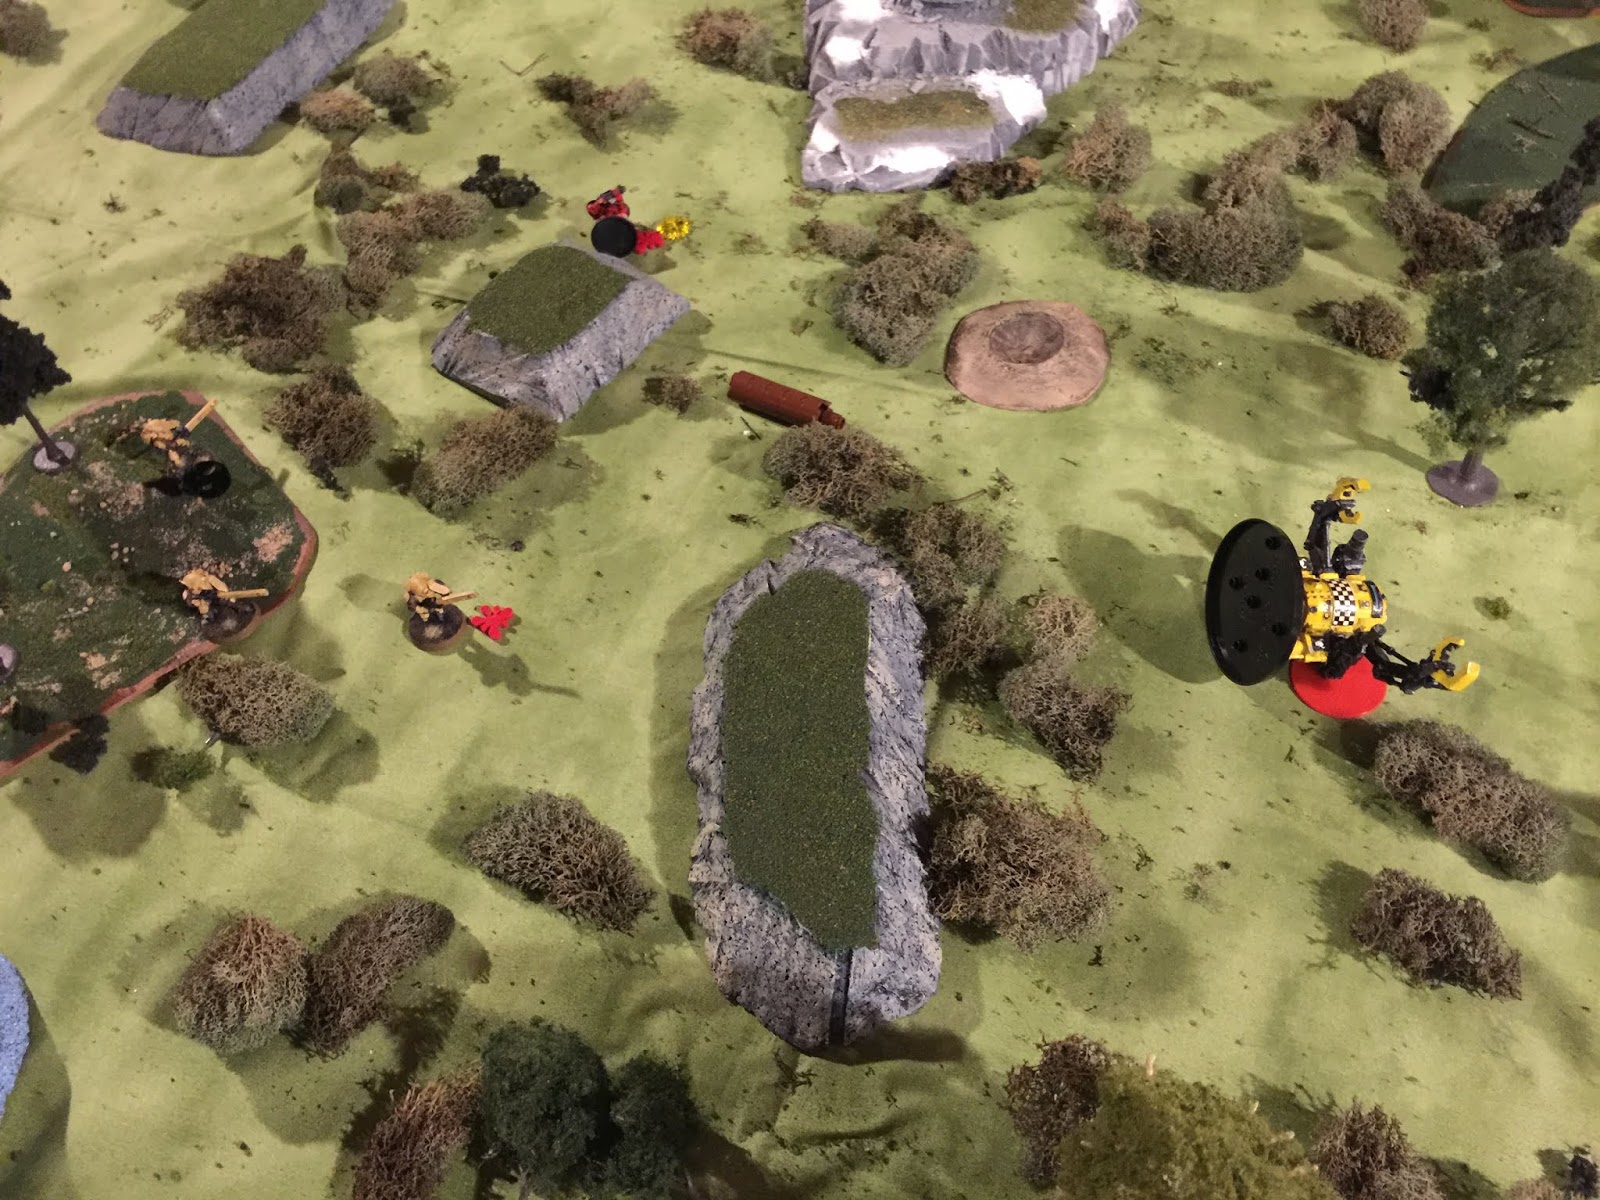
 The Tor advancing.  The mystical blue portal orb  

The Ornks arrive, their Odd Boy in the lead and war walker bringing the big guns to the fight.

The Emperor's elites disembark from their ship. 

 The three factions can see each other and exchange fire.

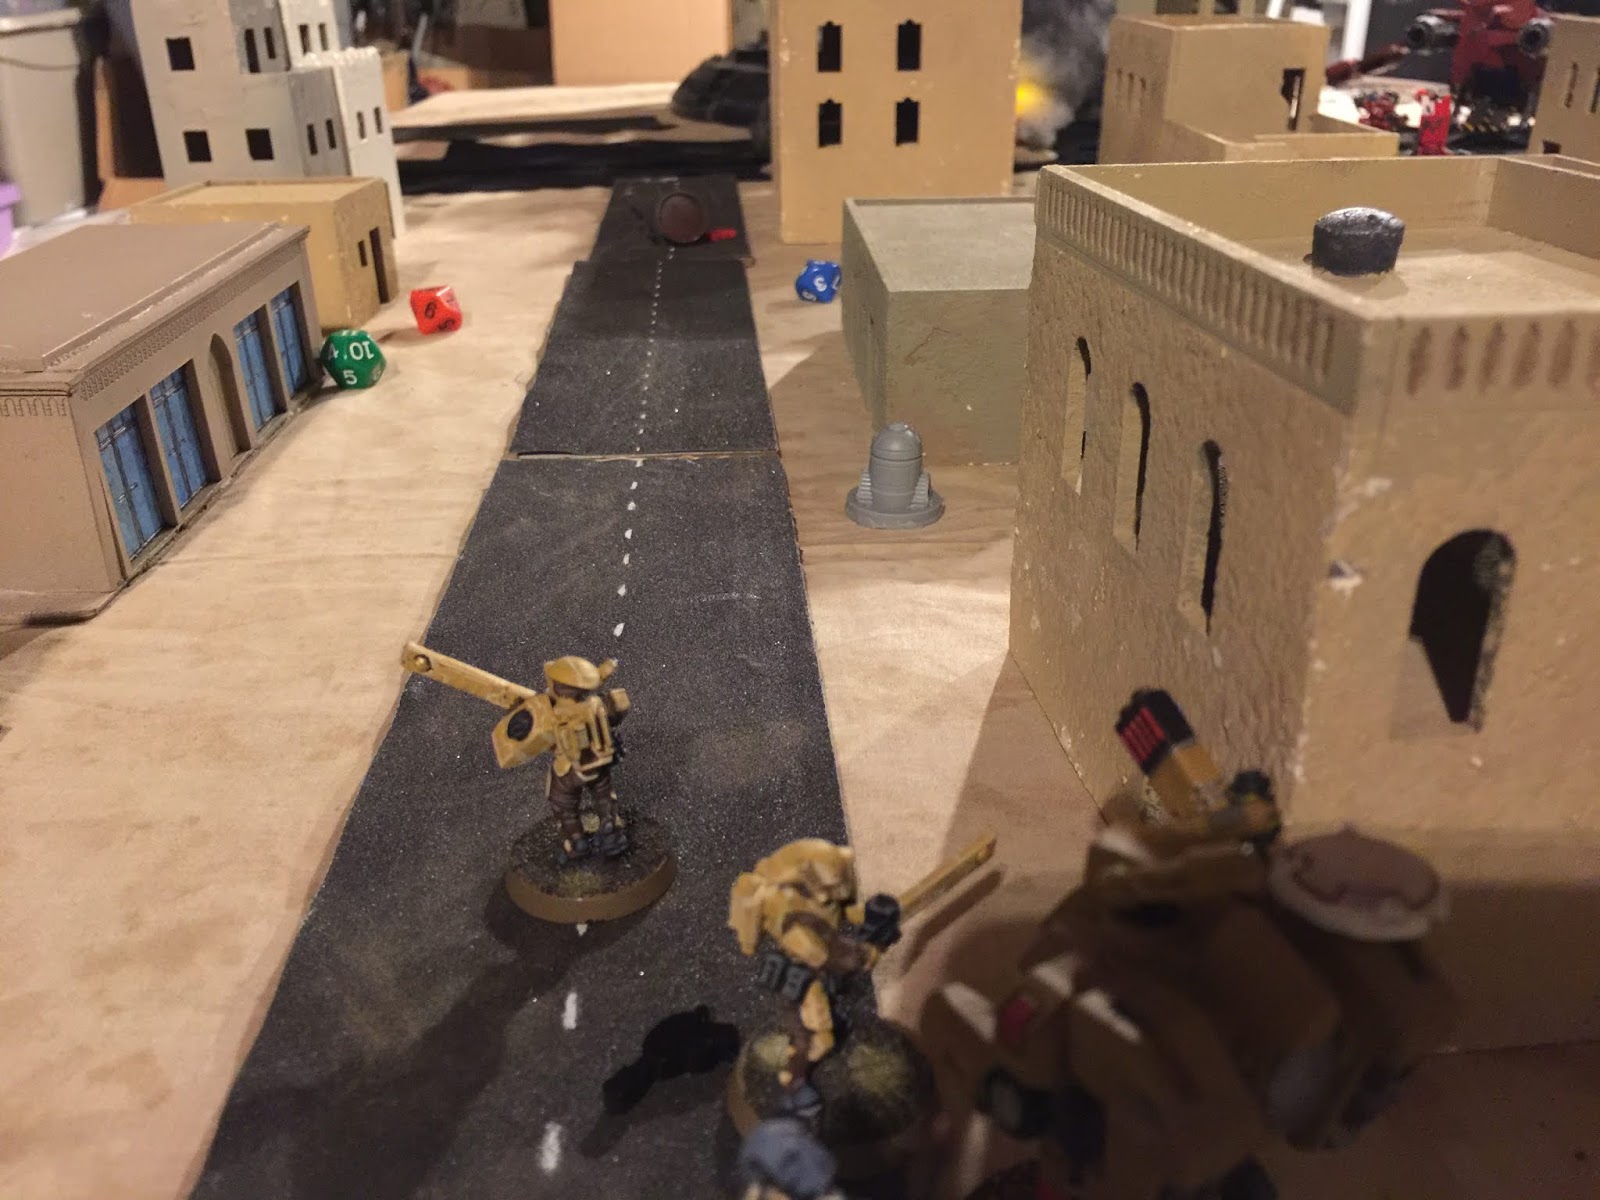
 One of  the Tor raced out and dragged the flex compactor toward his lines, but Imperial fire shook him and forced a retreat back to where the Tor cleric could calm his nerves.

The Ornks take heavy fire from both Tor and Imperial forces.


The Imperial psyker advances to crush an Ornk, fighting over the precious cargo next to them.

My Ornk war walker advances into the fray.

My war walker hoses some Tor down with his flamer.  The Imperial psyker has been killed at this point.

Mediocre results from my war walker's flamer - I had hoped to clear the table of Tor resistance, no such luck.

The Tor psyker decides it's a good idea to charge my war walker and engage in close combat.  This doesn't pan out as hoped, as he is wounded and knocked down.

My war walker gets shot by Tor troopers and retreats.  My psyker runs forward and delivers a coup de grace, finishing off his Tor counterpart.
Some fresh Tor who hadn't engaged in the fight move forward and kill my Psyker and wound my war walker with accurate fire.  This game's pretty much over.

We called the game at this point.  Both the Imperial and Ornk factions were shot to pieces and the Tor had two warriors who had largely sat out the fight and were fresh.  Victory for the Tor.

Game impressions:
1.  As with my first game, this one turned into a scrum where all sides ended up depleted by casualties.  All troopers default to d10 skill, and all had rifles, so there's not a lot of differentiation in troop capability.  The longer range of the Tor rifles definitely distinguished them and gave an advantage.

2.  The addition of a psyker and war walker to each faction kept things even between factions, but I like that no mini is impervious to harm or too overpowered.  If it bleeds, someone can kill it.

3.  The activation mechanism continues to please.  Haven't found a better way to manage multiple factions in a quick and engaging manner.

Exit note: this game was played in December.  Next post will be a likewise belated Christmas game post, with a mashup of Fistful of Lead activation cards, but Savage Worlds Showdown mini stats.


Wednesday, January 2, 2019

Galactic Heroes - First Game and Review

I'm happy to say that I was a kickstarter supporter of Fistful of Lead:  Galactic Heroes.  I got my promised game rulebook, activation card deck, galactic codex, vehicle supplement, template, dice, vehicle, and scenery.

If you're not familiar with the game, the original Fistful of Lead is a wild west game that uses a card-based activation system and allows you to have several factions on the board, all in competition with each other.  The Galactic Heroes version takes the system and expands it to science fiction settings, and the accompanying codex provides sample statistics for a number of popular sci-fi movies, books, and games.

The boys and I took the rules for a spin in a grim, dark world perhaps 40,000 years into the future that should be familiar to many sci-fi gamers.  The scenario, modified lightly from one in the basic rulebook, sets four factions against each other in a remote desert planet town, all trying to capture a droid containing plans for the Doom Moon.

A dusty town, a hive of scum and villainy, where four factions are vying for the valuable droid.  At upper left, the desert raiders have come out of the mountains spoiling for a fight.  At upper right, the Emperor's elite troopers have disembarked from their ship at the spaceport to collect what rightfully belongs to their master.  At bottom right, the local constabulary venture out from their barracks to retrieve the droid, either to curry the Emperor's favor or because they've turned heretic.  At bottom left, the mysterious Tor have appeared via a glowing blue wormhole opening made possible by the mystic that leads them.

One of the local constabulary takes a lucky shot and downs the Tor war walker.  One of the neat features of the GH system is that everyone can hurt everyone if the dice are right.

The leader of the Emperor's elite troopers downs a desert raider.  The desert raiders advanced constantly into a hail of fire from the Emperor's top hit squad, and suffered casualties accordingly.

State of the board after a turn.  All factions have advanced toward the droids in the middle of the board, and all have traded some shots with each other.

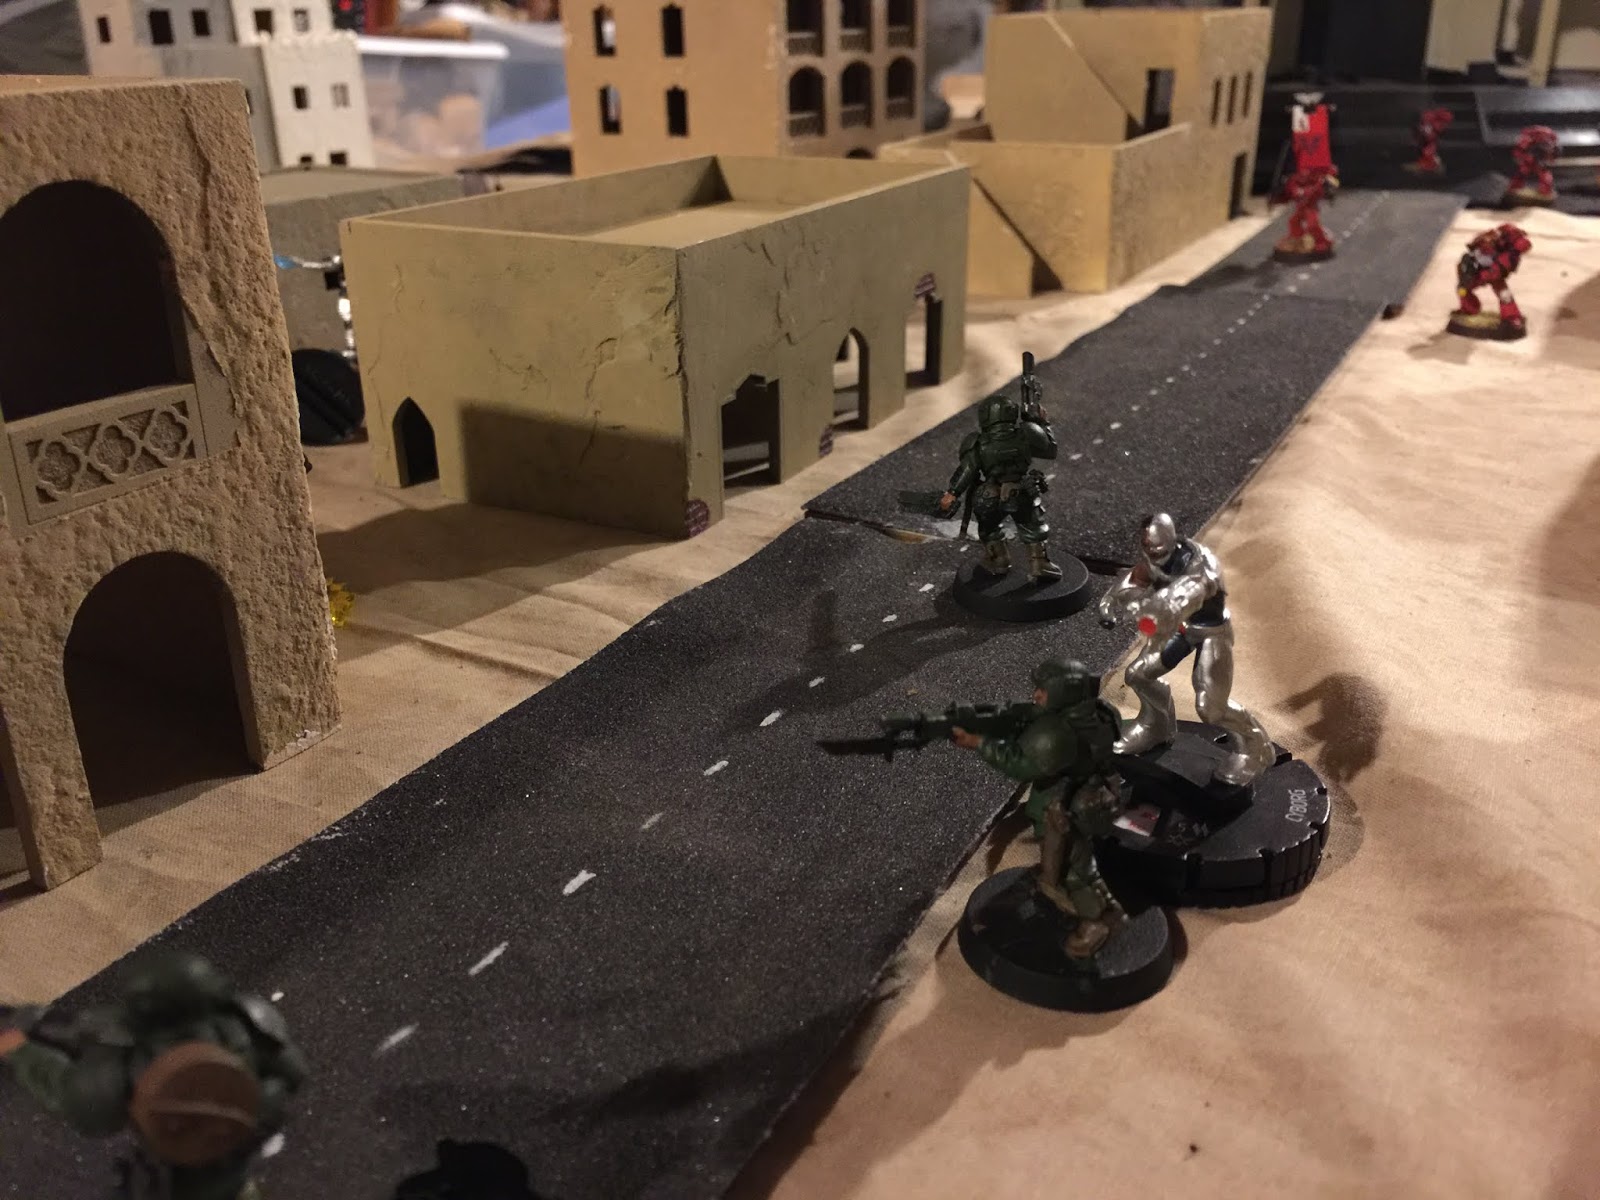
Droid success!  One of the local constabulary checked a wandering droid and found that it contained the plans to the Doom Moon.  I didn't have enough droid models handy, so the droid in question may look a bit like a Heroclix refugee from the Teen Titans.

The Tor troops trade shots with the desert raiders.

The Emperor's troopers rain down small arms and rocket launcher fire on the desert raiders.  At this point, the desert raider player opted to restart his faction, which the rules allow to happen with the caveat that the reborn faction loses its advantageous edges.

The Tor proved effective in shooting up the local constabulary.  The Tor weapons have a range advantage that proved decisive over some of their foes.

An Imperial commando goes down (foreground), and his leader gets shaken by enemy fire (background).

A local trooper gets nailed by Imperial return fire, and the Imperial leader goes down.

The Imperial leader makes a check to see if he can recover from his wound (mandatory), and rolls a 1 - the only way he could get put out of action!

The Tor war walker, downed again by constabulary fire, is attended to by the Tor Psionic, who heals him.

The Tor war walker promptly jumps up and fries a constable with his flamer!

And return fire downs both the Psionic and the war walker!

I recommend blowing this one up to full size.  One Imperial commando is wounded and out of ammo a left, the rocket launcher trooper at bottom is shaken, but manages to get a shot off and vaporize one of the local constables.  A desert raider is creeping in at right on the rear of the Imperial advance.  Complete chaos.

More chaos.  The Tor war walker, now with two wounds, trades fire with opposing constabulary, many sporting wounds of their own.

Eventually, all the factions' forces were worn down by attrition.  The last Tor warrior grabbed the droid and made a run for the Tor portal orb (exit point to victory) while the Tor war walker provided covering fire until it ran out of ammo, then served as a barrier to the advancing desert raiders.

Success! The last Tor warrior takes the droid with the Doom Moon plans through the portal to win the game.
First impressions:
- The activation system may be the best selling point for this game.  The card-based system lets multiple factions play at the same table, and incorporates bonuses into the flow of the game to create a fun and engaging experience.
- Though I generally favor longer ranges for shooting weapons, the relatively short ranges given by the Codex that came with GH still managed to shoot up all of the factions.  Not sure if I'd change the ranges for weapon effectiveness given the massive attrition that this game produced.
- So far, the one thing missing is a point system.  We gave the Emperor's elites and the Tor five troopers each based on their tougher stats, and the desert raiders and constables six troopers each to try to even it out.  The Tor Psionic and war walker proved very effective, and the extended range of their weapons also weighed heavily in their favor.

We resolved to give the system another try, again in the grimdark universe, but to give each faction a Psionic and war walker of their own to even things out.  We've played that, and I'll post it as soon as it's written up.  More to follow.