We return to Hyllestad, a small town out at the end of the 'verse on the planet Sanctuary, where things are tough. The local mining for rare metals is highly lucrative, but the rule of law is weak and gangs roam the desert making a living extorting money and terrorizing the small settlement towns.

Raiders!
We previously played a wastelander raid on the town in this post, which I highly recommend you read before going forward.
Hyllestad, the site of a joint Norwegian-Canadian mining conglomerate's company town, has a wall around it and a 20-man UN Legion security detachment, complete with one Unmanned Ground Vehicle (UGV) for extra firepower. The current residents of Hyllestad include a few local gunslingers who do private security work to keep convoys and payrolls secure from the local gangs, and the townsfolk keep plenty of weapons on hand.
It may not be enough. Today the Red Band, a gang of outland raiders in vehicles armored up with scrap metal plates, is paying Hyllestad a visit.
I have raised my battle-tracking game since the last play-through. Here's the Order of Battle (OOB) sheets I've created to track the Red Band raiders, with the vehicles listed and personnel inside of them placed on base-sized slots to track all of the Red Band fighters:

Click to Embiggen the image. It will make more sense.

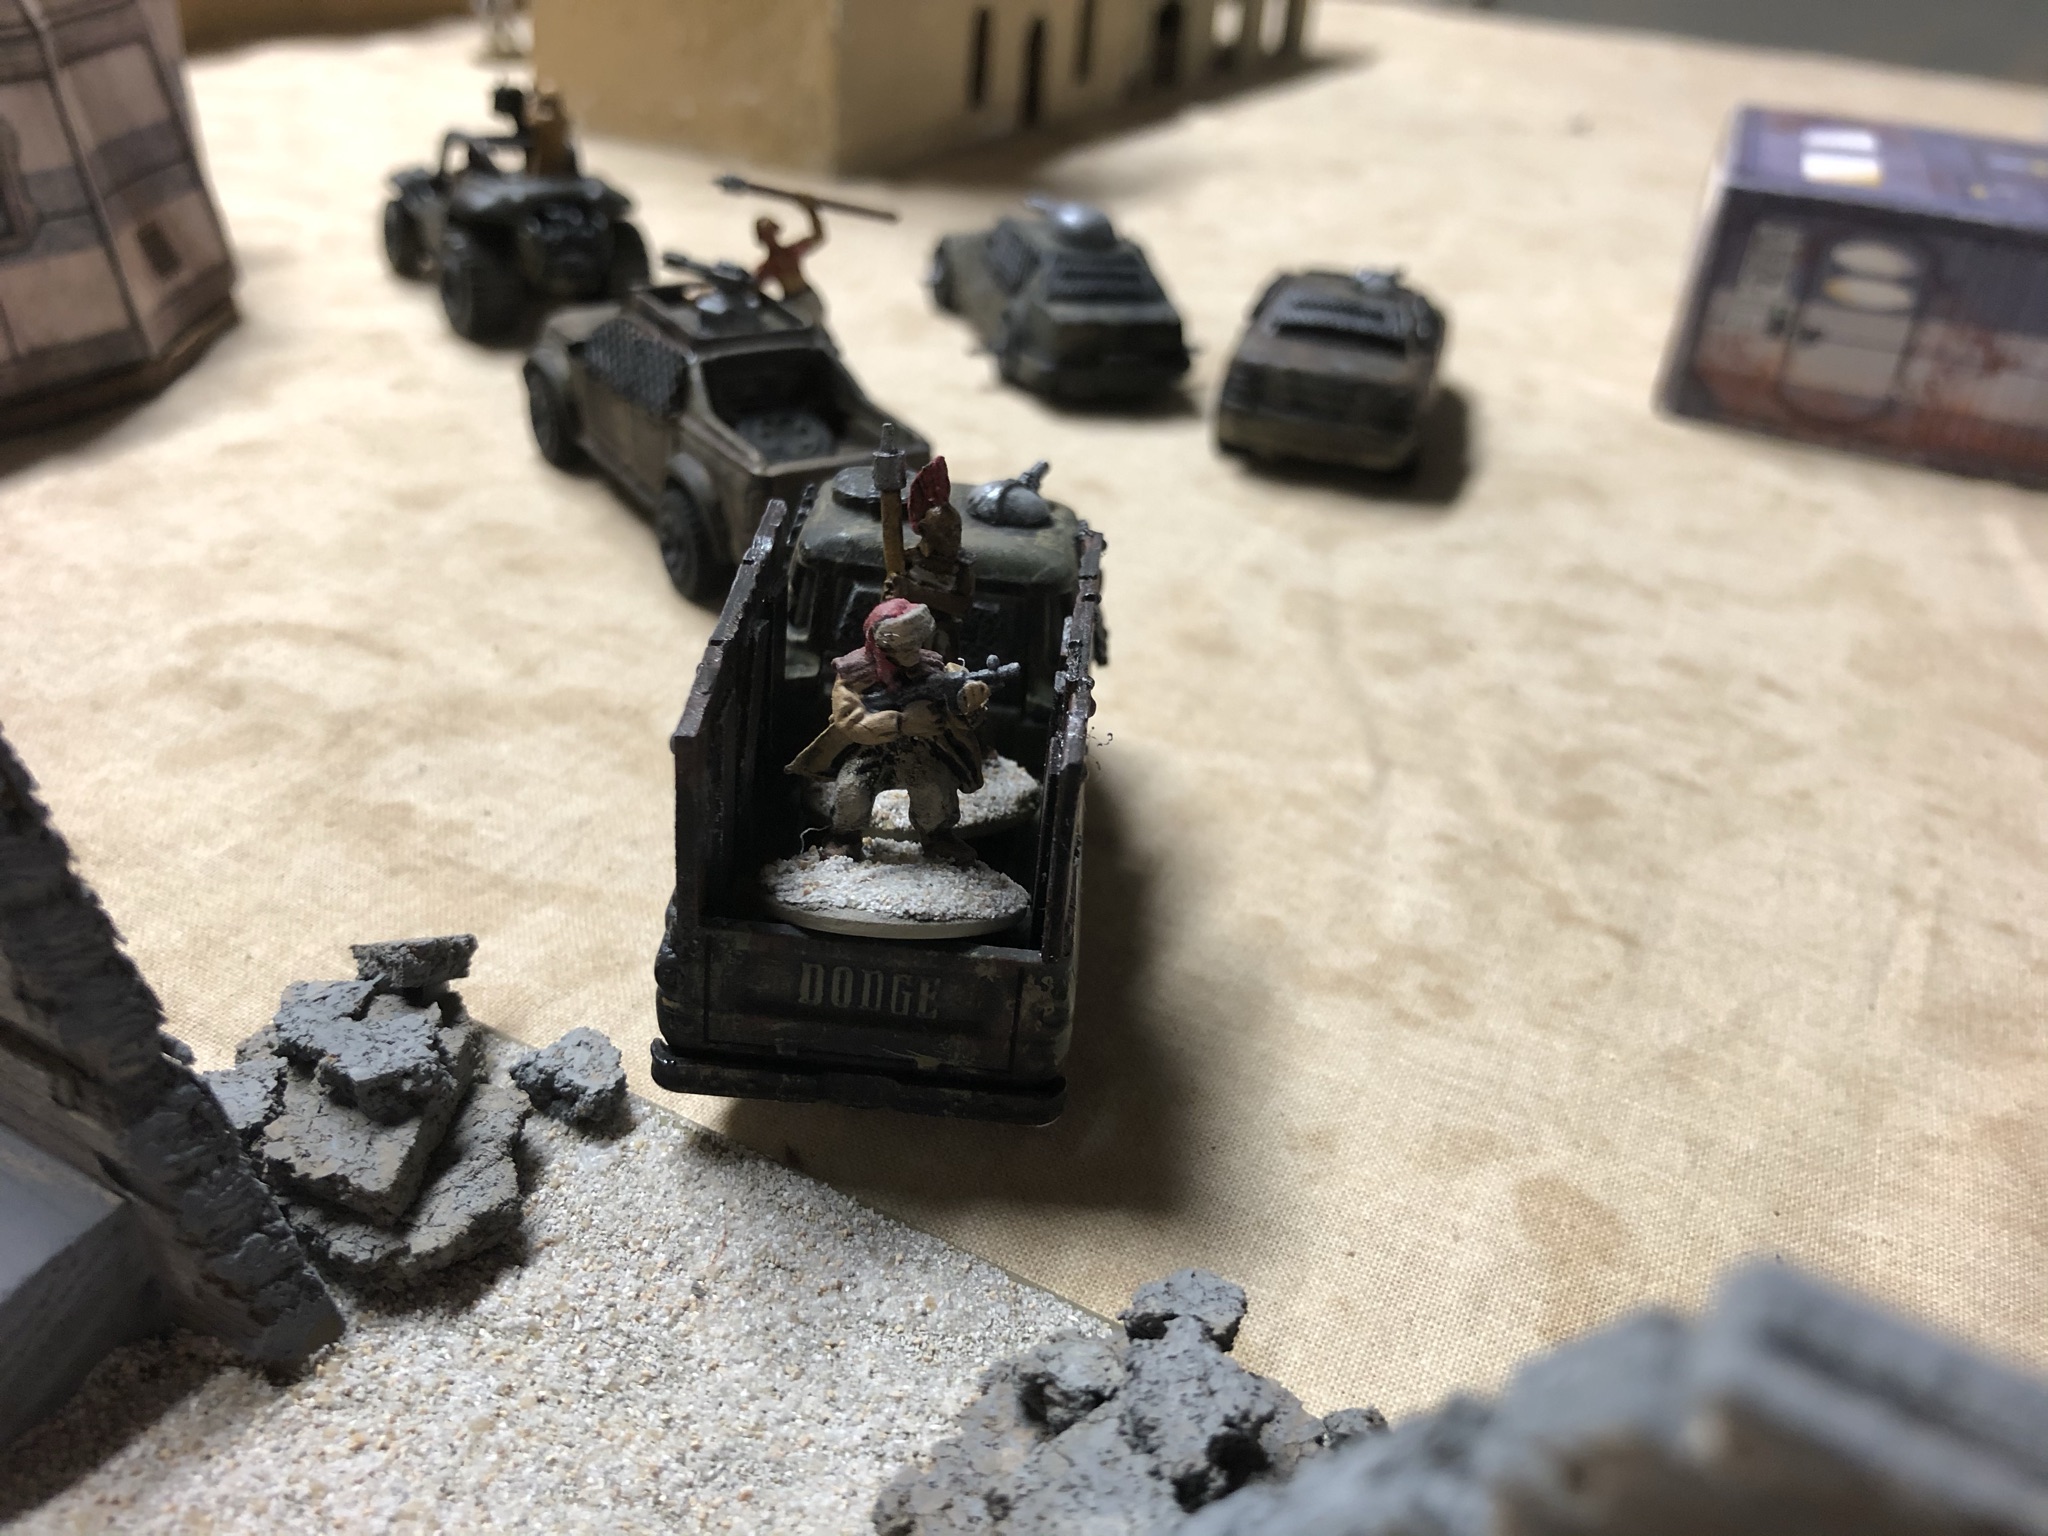
The Red Band. From left to right for vehicles: Gun Buggy, Bloody Mary, Kneecapper, Mothership, War Wagon. I somehow left out Crusher, but it's in the battle report.

Close-up of the Red Band fighters. Mimi, their leader, at center with her heavy pistol.
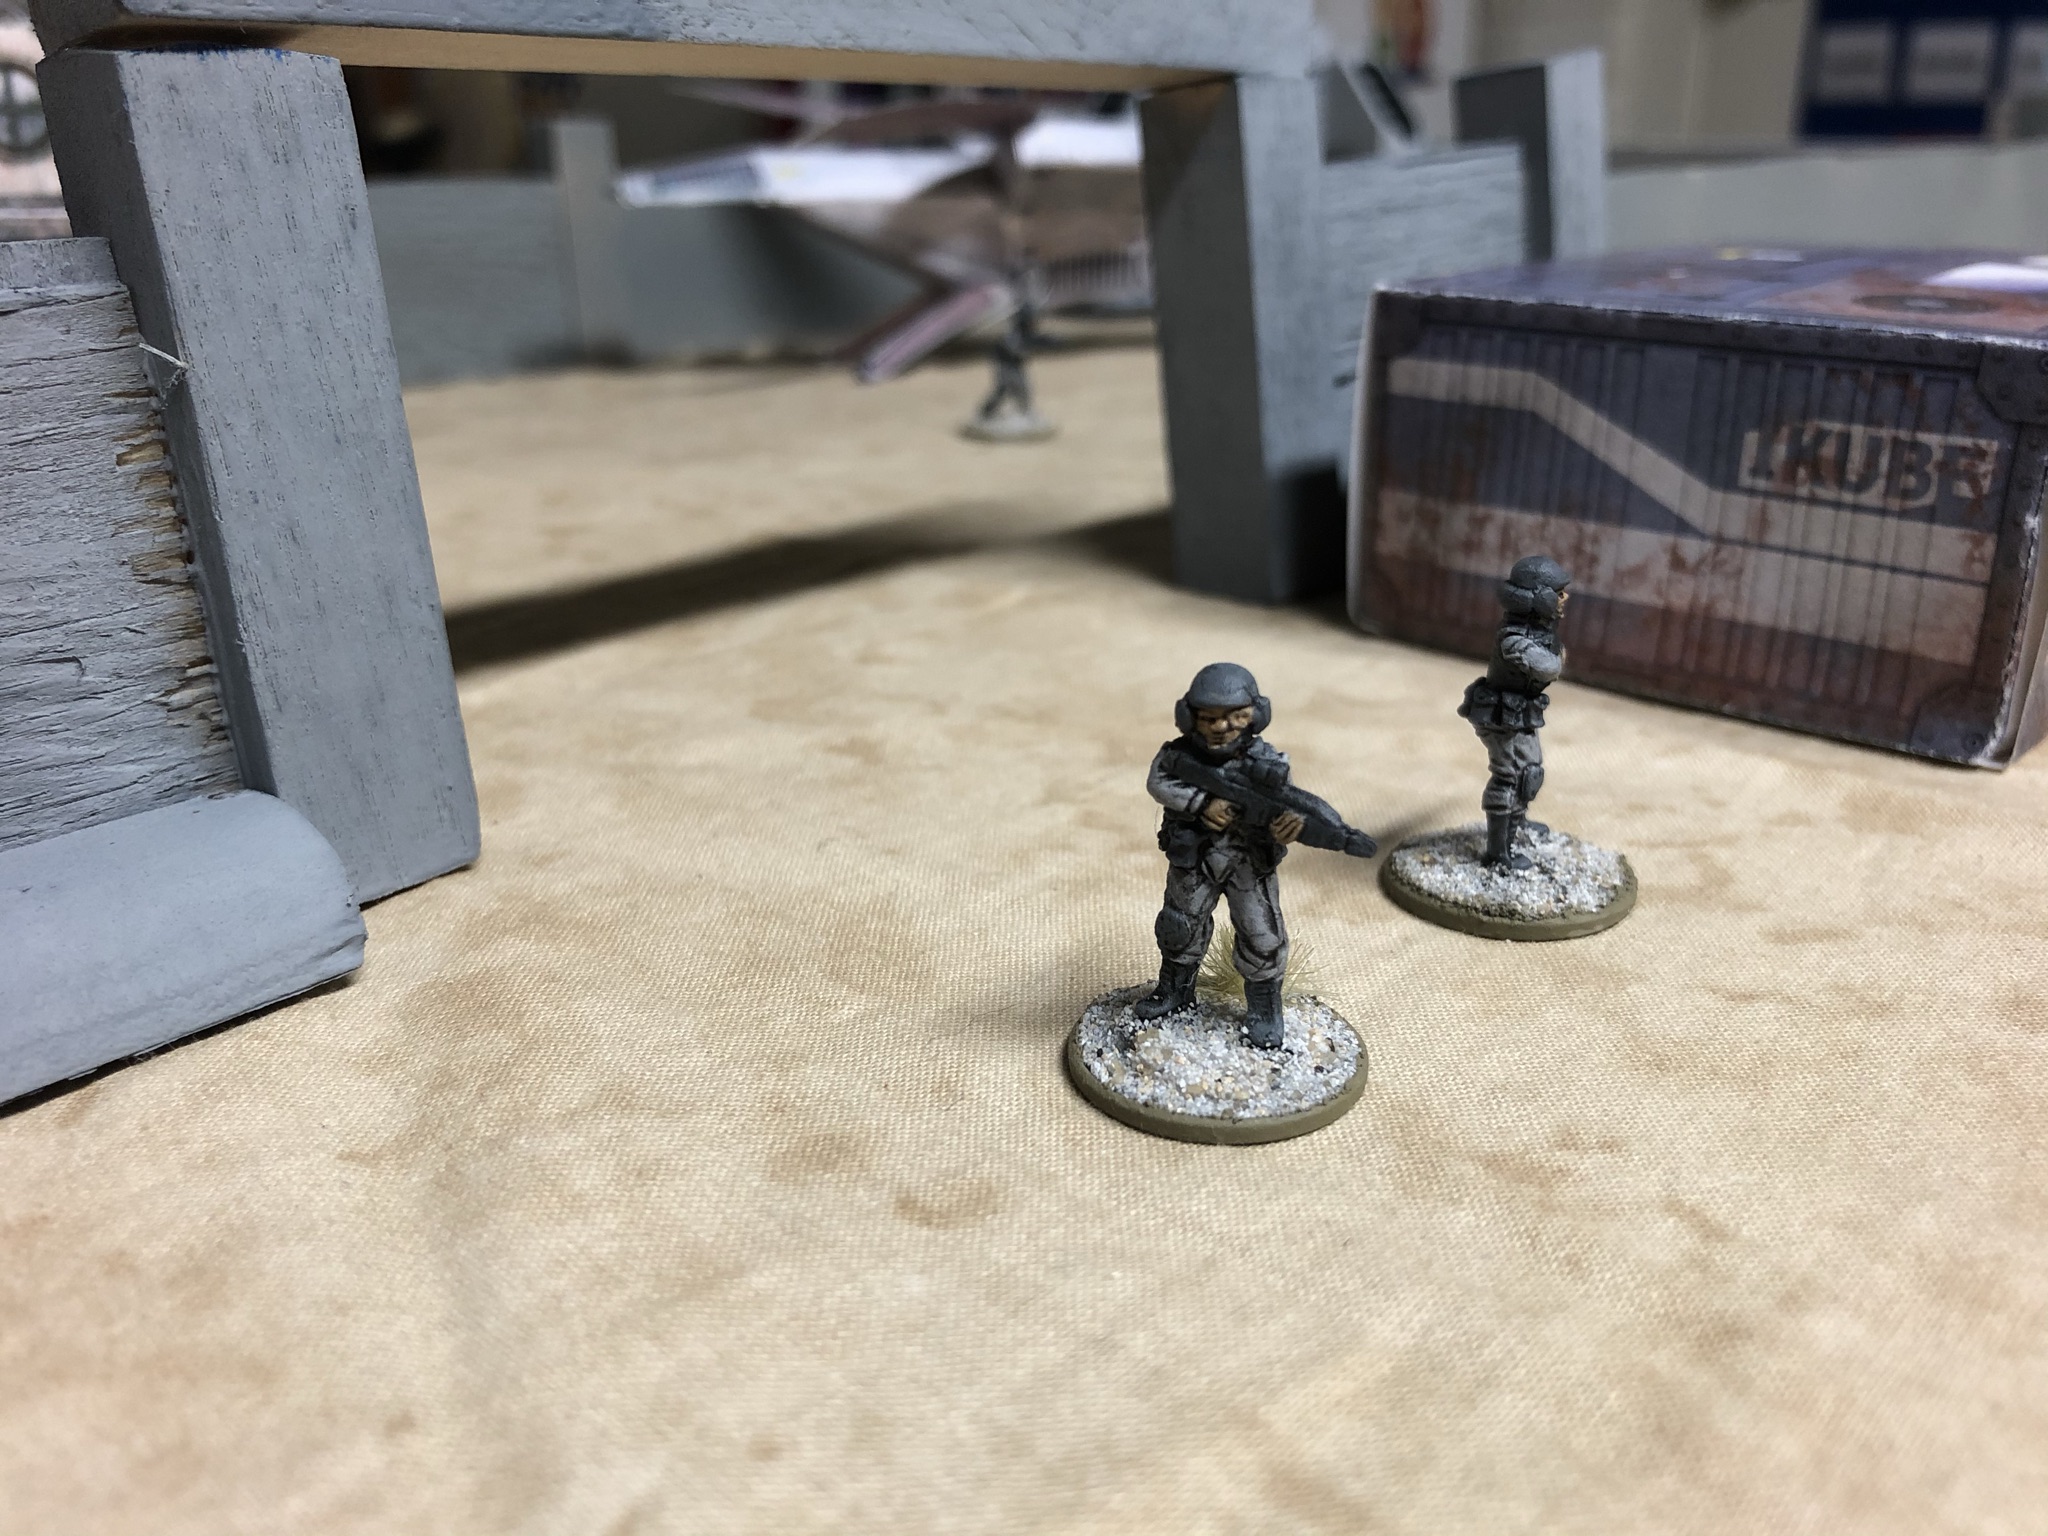
There are four lances of UN troopers, with five troopers in each. One has an Unmanned Ground Vehicle (UGV) that must be controlled by one of the troopers.

One of the UN Legion lances, with UGV in the background.

Another UN Legion lance, moving forward into action.
Before the attack starts, let's take a walk around town.

Overhead view of town.

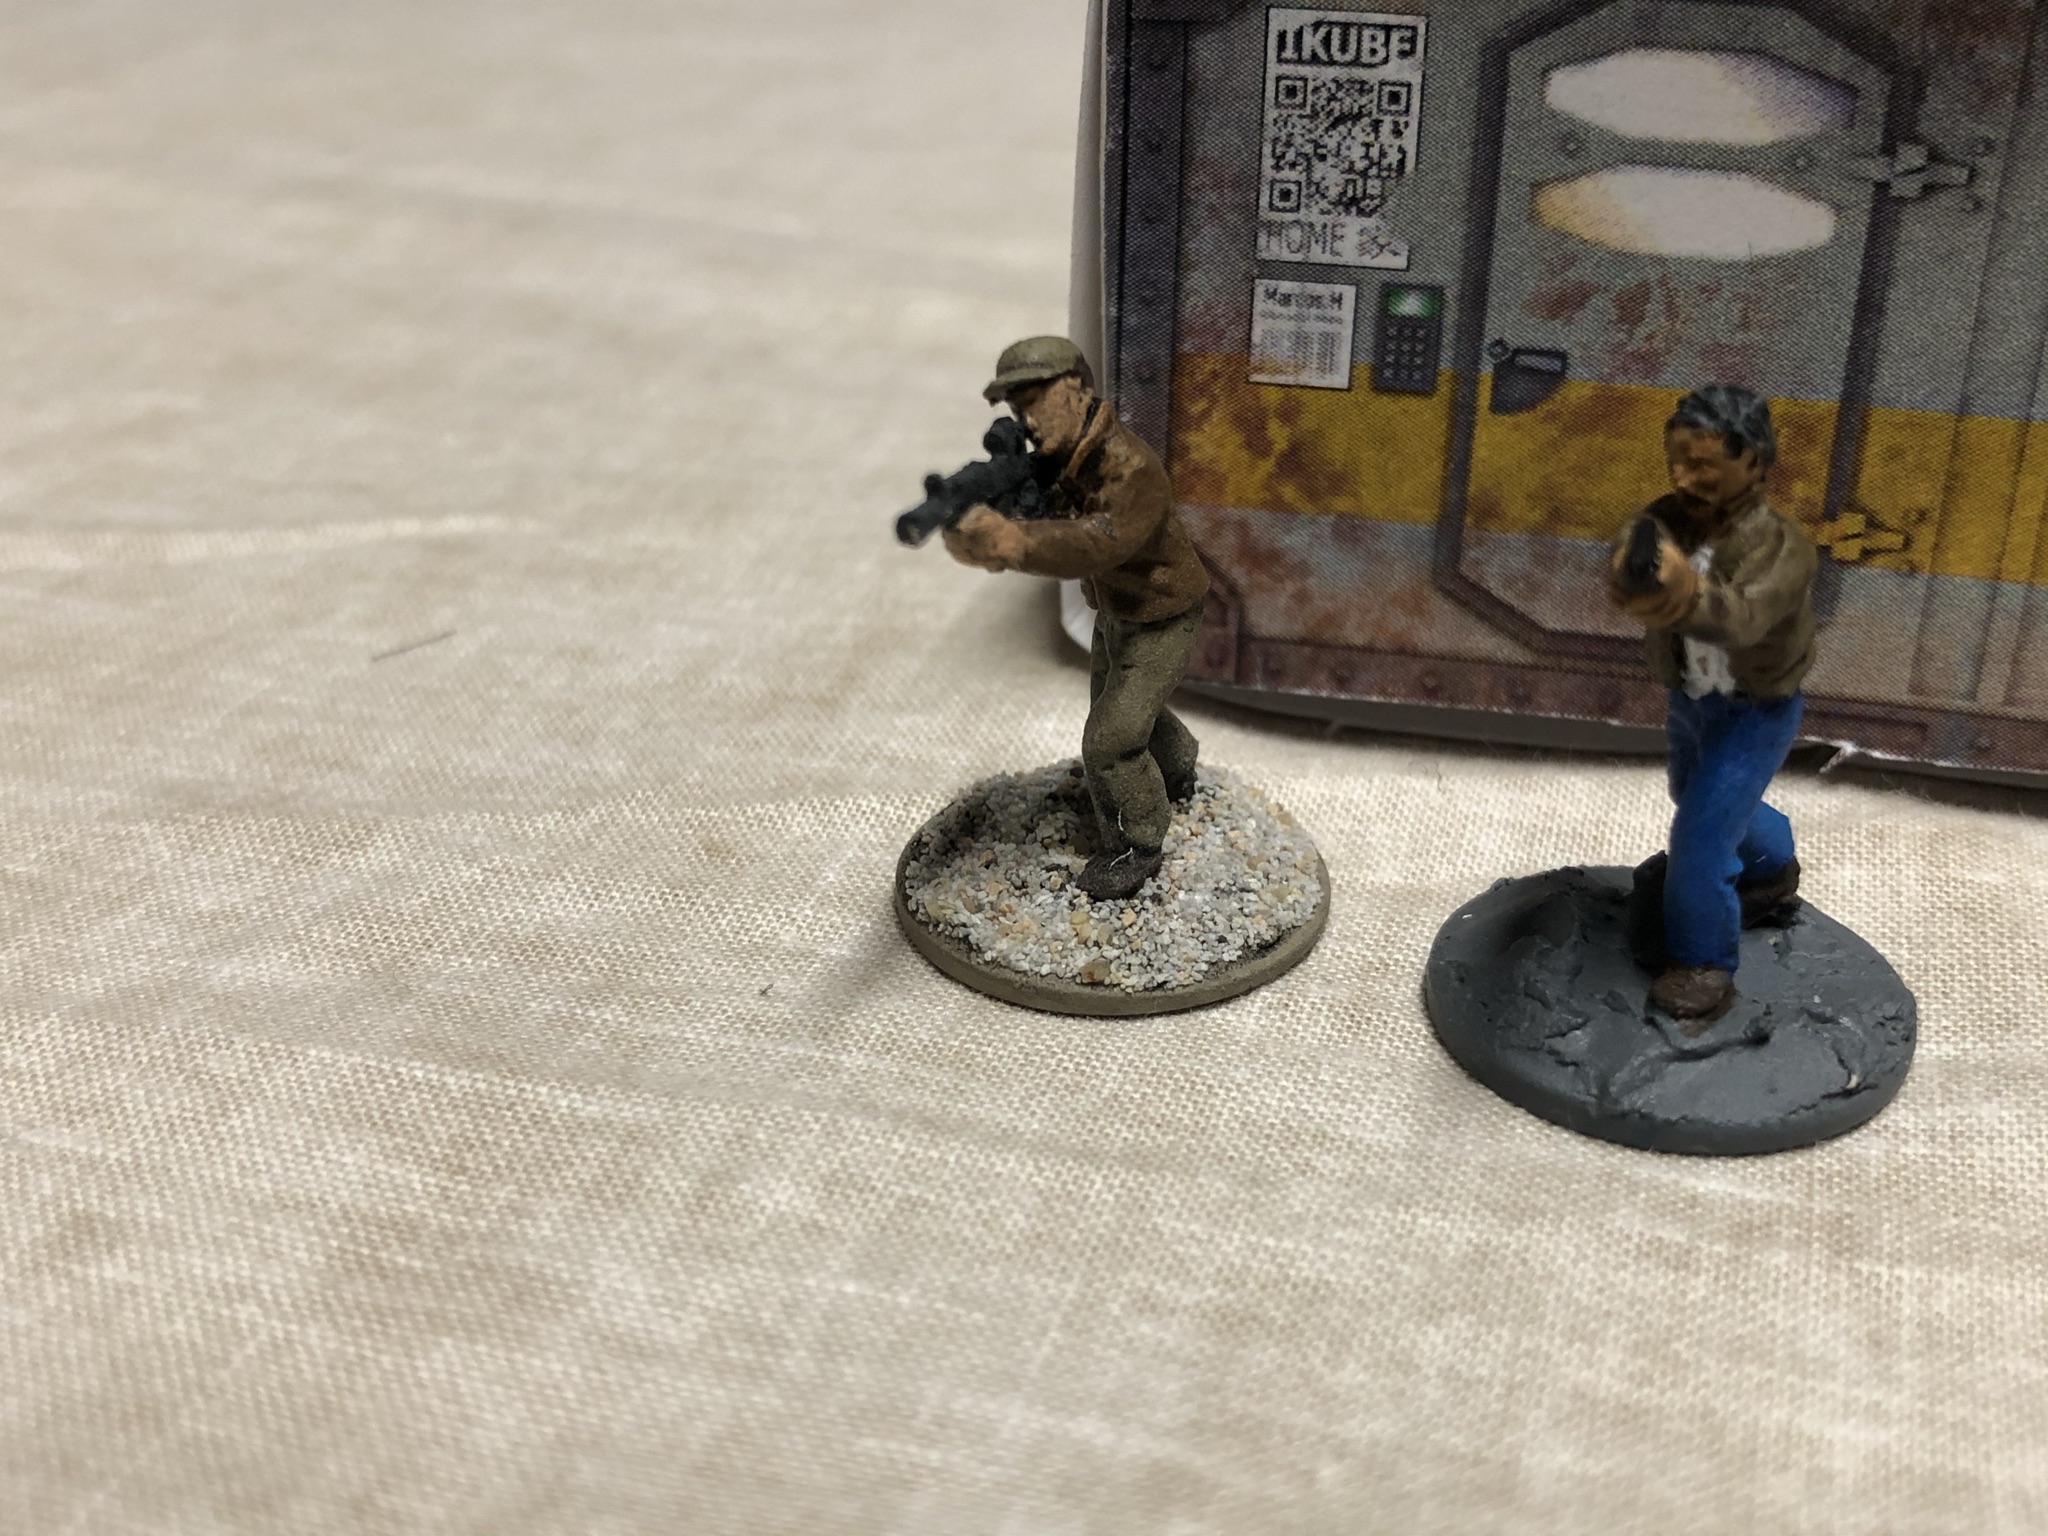
UN Legionnaires on patrol in town.

Workers unloading a bird at the airpad.
More UN Legionnaires on patrol.

Legionnaires walking the town, talking to locals.

The inner compound, with secured generator and UN Legion UGV in the background.

Local doctor at the clinic, telling some poor guy that his test results aren't good.
I'm a smarter land raider now, so in contrast to last time I didn't bust my convoy of through the wall nearest a concentration of people, and by extension, guns that could shoot back. The key to effective desert raiding is cracking a hole in a wall and then getting your raiders dismounted and causing mayhem.
So, here we go:

Raiders bust through one of the outer walls!
From the back end of the caravan of raider vehicles.

Two of the UN Legionnaires are cut down by raider fire immediately.

BOOM! Then one of the vehicles crashed, a victm of effective small arms fire from the gunfighter on the roof with the blue ballcap.

A few townspeople hiding behind the skimmer.

One of the UN Legionnaires gets to the Unmanned Ground Vehicle (UGV) and fires it up.

Other Legionnaires protecting the inner compound.

Two more Legionnaires get peeled off by raider fire.

The raider vehicle Kneecapper gets immobilized.

The fight at the edge of the inner compound heats up and almost everybody is hit.

Now the raiders go further into the town. Both War Wagon and the Mothership have been reduced to half speed by small arms fire.

With Kneecapper immobilized, the surviving crew jump out.

A raider gets killed.

Now a raider charges up the stairs and tries to take on everyone on the roof by himself.

He gets past the low-stat locals and spears one of the gunfighters leading the town's defense! Blue ballcap guy is down!

Raiders on the move in the mothership.

The Bloody Mary crashes into the checkpoint at the front gate.

A UN Legionnaire witnesses the Bloody Mary crash.

The crew of the Bloody Mary dismount and take out the Legionnaire.

One of the Bloody Mary crew charges toward a UN Legionnaire.

The spearman raider lays low the Legionnaire and charges on toward the bounty hunter.

The bounty hunter, one of the local town heroes, pivots to confront the raider.


The bounty hunter comes out on top again!

Oh no! along comes a raider vehicle and shoots down the bounty hunter!

Across town, villagers scramble and a Legionnaire and one of the town leaders give conflicting commands.

The War Buggy on the move.

A straphanger riding on the side of a Red Faction vehicle.

Machine gunner on the top of the Crusher.

View of the battle from the gunner's perspective.

A raider crew dismounted and using the War Wagon as cover.

Raider vehicles on the move, with dismounted raiders running amok.

Here comes the cavalry!
The UGV goes rolling in guns blazing and a raider vehicle takes a hit.

Across the compound, the Mothership unloads a crew of raiders.

That crew is quickly cut down by fire. I don't remember by whom, but they're lying there bleeding.
Two townsfolk jump out of a prefab shack to confront Mimi and her raiders.

They draw their guns at each other in a standoff.

They stare at each other, waiting for one side to make a move.

And Mimi's side wins initiative and guns down the townsfolk.

A Red Band raider escorts a villager out of town at gunpoint.

Mimi and her crew round up a villager for ransom.

Red Band raiders hop into their vehicles and ride off.

Two Red Band raiders walk hostages out of town.

A lonely UN Legionnaire surveys the carnage with smoke billowing from a wrecked raider vehicle in the background.
The end result of the raid was a pyhhric victory for the Red Band. They took a few hostages alive for ransom out of town, but took heavy casualties in the process. This was a grand skirmish game with many figures in play at any given time, and we all had a great time playing. We hope to play this scenario again in the future and see how it comes out.
No comments:
Post a Comment